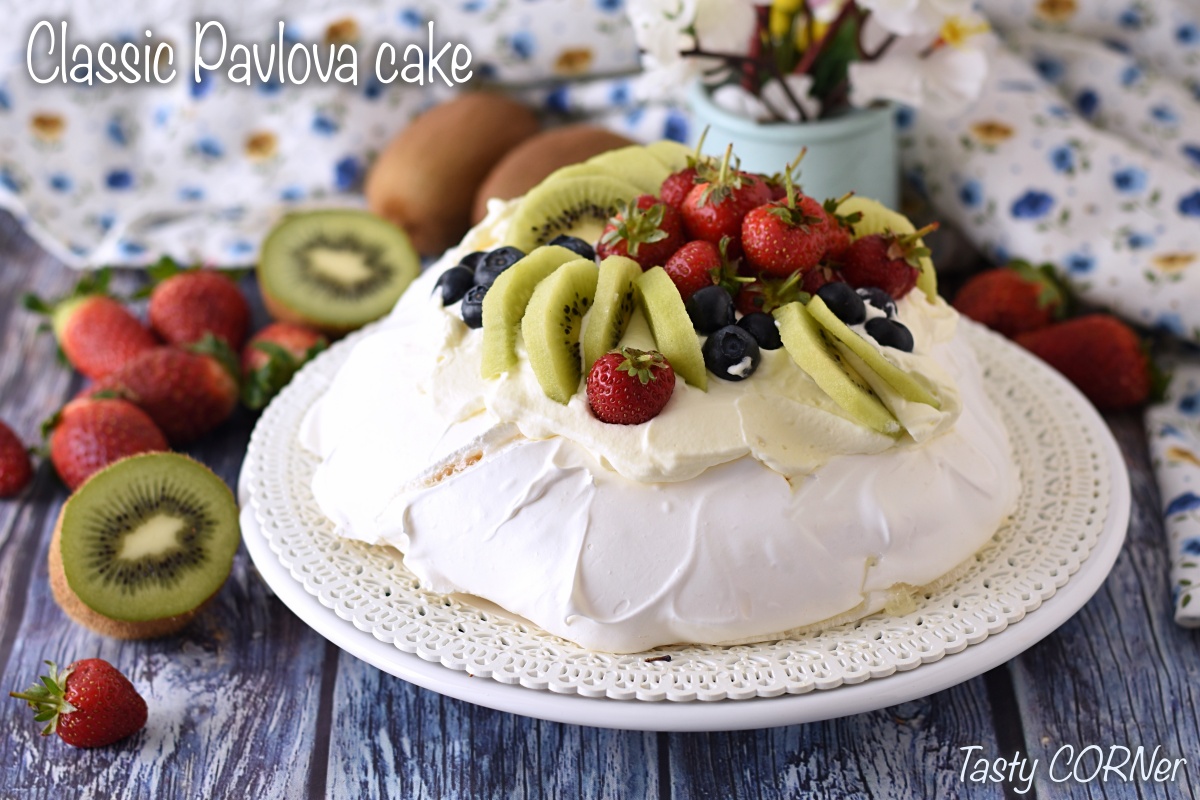
The classic Pavlova cake is a dessert of Australian and New Zealand origin, with a sumptuous and elegant appearance, consisting of a meringue base covered with whipped cream and garnished with fresh fruits. If the origin of the name is well known – the dessert was dedicated to the famous ballerina Anna Pavlova, who toured Oceania in the 1920s – the place of origin of this beautiful cake is still disputed between Australia and the New Zeland. In these countries the Pavlova cake is traditionally served at Christmas, therefore in the summer, and can be garnished in many different ways. The classic Pavlova cake normally includes strawberries, blueberries, currants and kiwis, but the strawberry Pavlova is very popular especially during the Christmas holidays.
Preparing the classic Pavlova cake is not very easy, although with this recipe you won’t need a pastry bag: in particular, the most difficult steps are the preparation and cooking of the meringue, which must be white and not darken: therefore it is essential to respect the right cooking times and let it cool well in the turned off oven and with the door half open so that moisture can escape. The base keeps well for a few days, but the Pavlova cake should be filled and decorated shortly before serving, because cream, fruit and the refrigerator tend to moisten it over the hours.
You might also be interested in these desserts:
Ingredients for a classic Pavlova cake of 8 inches (20 cm) in diameter
For the meringue base
For the classic Pavlova cake topping
- Power 302,59 (Kcal)
- Carbohydrates 49,00 (g) of which sugars 46,81 (g)
- Proteins 3,08 (g)
- Fat 11,55 (g) of which saturated 0,01 (g)of which unsaturated 0,10 (g)
- Fibers 1,00 (g)
- Sodium 37,57 (mg)
Indicative values for a portion of 120 g processed in an automated way starting from the nutritional information available on the CREA* and FoodData Central** databases. It is not food and / or nutritional advice.
* CREATES Food and Nutrition Research Center: https://www.crea.gov.it/alimenti-e-nutrizione https://www.alimentinutrizione.it ** U.S. Department of Agriculture, Agricultural Research Service. FoodData Central, 2019. https://fdc.nal.usda.gov
Tools
How to prepare classic Pavlova with mixed fruit
 Puoi trovare la versione in lingua italiana di questa ricetta qui!
To prepare the classic Pavlova cake, start with the meringue base: it is important that the egg whites are at room temperature, so remember to remove them from the refrigerator at least half an hour beforehand. Don’t be hasty: consider that with a planetary mixer it takes a total of about 6 or 7 minutes to beat the egg whites properly, at least 10 with an electric whisk.
Pour the egg whites into the bowl and start beating them with the whisk of the planetary mixer or with the electric whisk. Only when they start to turn white can you start adding sugar. First put the extra-fine sugar, not all at once but pouring it in at least 3 stages.
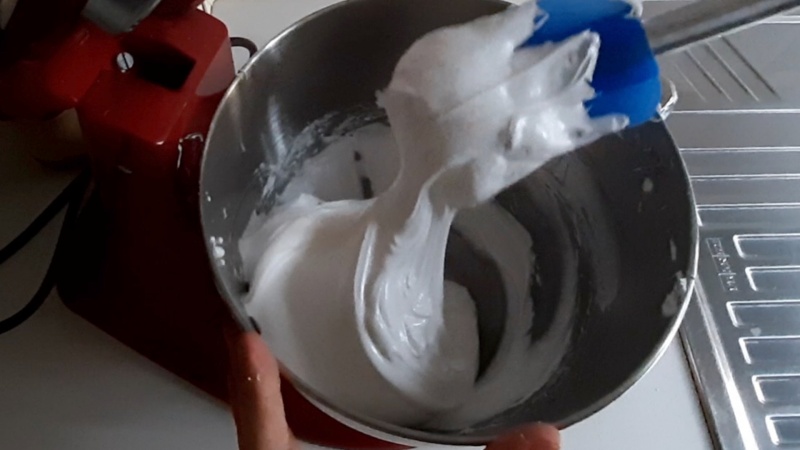
When the sugar has been incorporated, add the powdered sugar, also in 3 stages. Continue beating the egg whites for 2 or 3 minutes, until you obtain a frothy and very white mixture, then add the lemon juice and continue beating them for about a minute.
In the end you will get a shiny, swollen and sticky mixture. To test that the egg whites are properly whipped, turn the bowl upside down: they must not move from the bottom or slide on the sides of the bowl.
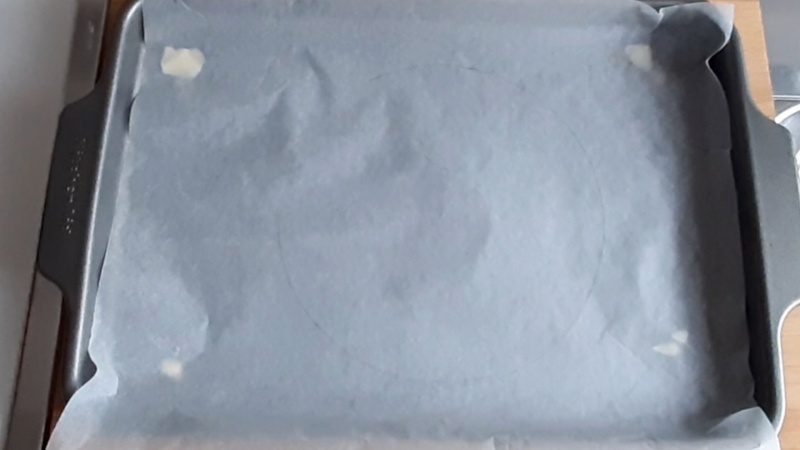
So give shape to the base of your classic Pavlova. To do this, since the meringue is sticky and difficult to distribute, proceed as follows: take a baking tray and cover it with a sheet of baking paper. Take an 8-inch cake pan and draw the circumference of the cake on the baking paper with a marker.
Turn the sheet, so that the drawn part is not in contact with the cake but can only be seen in transparency. Take small pieces of butter and spread them on the 4 corners of the pan, then overlap the baking paper: in this way it will remain attached to the pan and it will be easier to distribute the meringue over it.
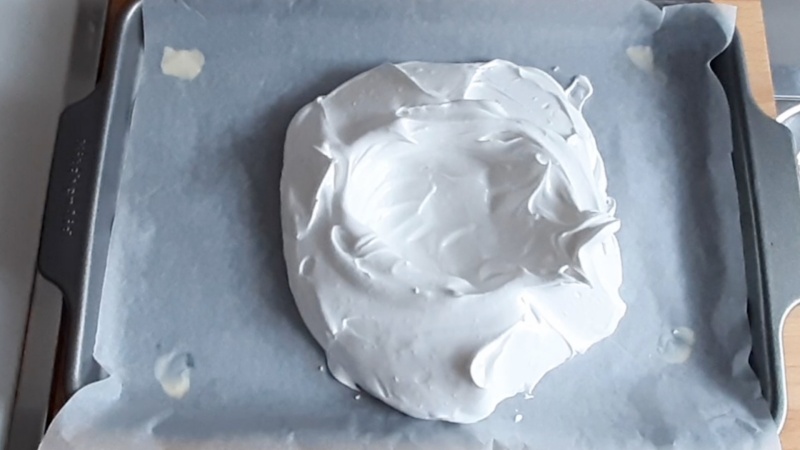
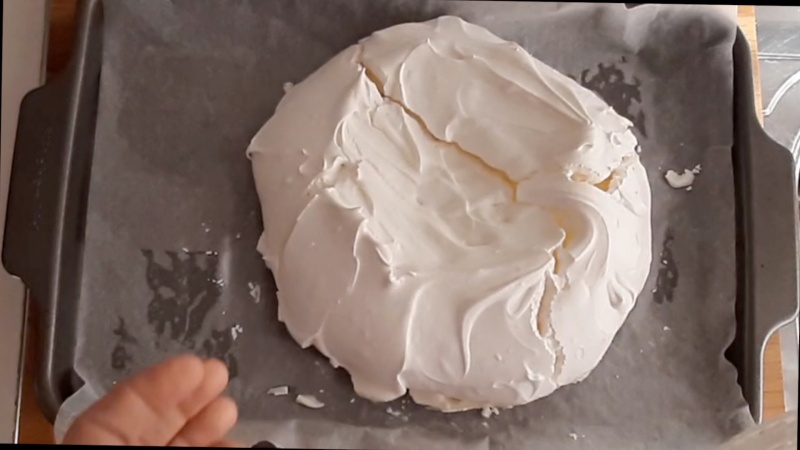
Then pour the mixture over the circle you traced on the parchment paper. With a spatula, give it a regular shape. Still using the spatula, form a hollow in the center, a sort of “nest” where you will then put the cream and fruit.
Bake the Pavlova cake base in the preheated conventional oven at 212°F (100°C) for 1 hour, then lower to 194°F (90°C) and bake for another hour. Once the cooking time has elapsed, turn off the oven and leave the meringue to cool inside with the door half open. It will take about 2 hours.
Only when the meringue is perfectly cold, gently remove it from the baking paper and transfer it onto a plate or cake stand. If you don’t want to serve the classic Pavlova cake within a few hours, you can keep the base at room temperature for 4-5 days.
Just before serving the dessert, take care of the decoration: pour the cream into a bowl and whip it for about a minute. When it is semi-whipped, add the powdered sugar and continue beating it until the mixture is firm and frothy.
Wash and dry blueberries and strawberries which, if they are small, you can leave them whole and with the stem, otherwise cut them into slices. Peel the kiwi and cut it into thin slices, then divide each slice in half.
Spread the whipped cream in the hollow on the base, making it come out even a little. Arrange the fruit on top, following the decorative pattern you prefer.
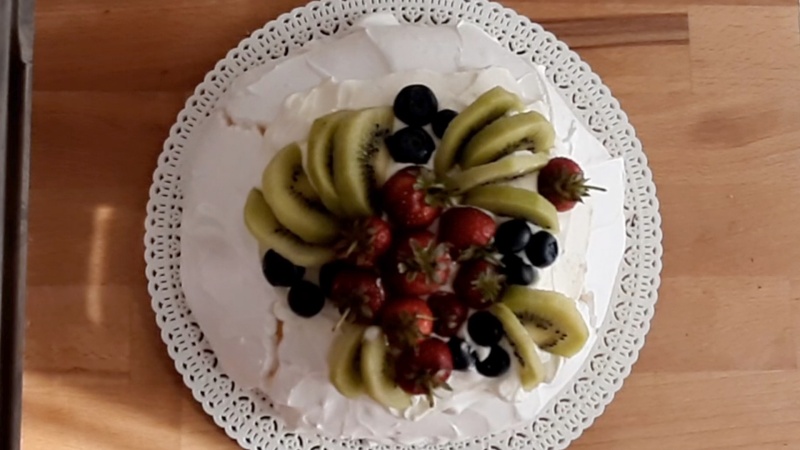
Classic Pavlova cake is ready to be served. With the cream and fruit topping, it holds well in the refrigerator for 5-6 hours, then it inevitably gets moist and the fruit starts to release water.

How to store Pavlova cake
You can keep the Pavlova base without the garnish at room temperature for up to 5-6 days. If, on the other hand, the already garnished dessert should be left over, you can keep it for a couple of days in the refrigerator closed in a container for cakes. The base will be a little less crunchy but still good.
Tips and variations
As mentioned, this is the recipe for the classic Pavlova cake, but there are many versions: in fact, you can garnish it with the fruit you like best and which is available according to the season.
In some recipes, a little cornstarch is also added to the egg whites to stabilize them. I prefer not to add it: the meringue with this recipe always comes out perfectly while adding cornstarch is a little more difficult because it must be sifted and incorporated with a spatula without disassembling the egg whites.
If you prefer, you can use the pastry bag to give a prettier shape to the base: form many rather large and tall tufts of meringue along the circumference of the circle and a slightly lower spiral to cover the center.
With the egg yolks left over from preparing the Pavlova – which are about 4 – you can prepare spaghetti carbonara, custard or tiramisu!
Varied doses for servings